Bring your Nuxt app alive with Nginx

Introduction
Previously in my last blog I explained how to deploy your nuxt app using pm2, but when the app starts it is only accessible within the server, like how you develop your app with a dev server and that's only accessible to yourself on your local machine. This is the same concept.
Prerequisites
- A server with ssh access
- Your nuxt app
- A domain name that's linked to your server's IP address
I am using an Ubuntu server with a non-root user with sudo privileges.
SSH into your machine
Once you have your domain name configured with your server's IP address under DNS (domain namespace), then we are ready to install Nginx onto our server.
Now let's ssh into your machine and update the apt.
$ sudo apt update
Install nginx
$ sudo apt install nginx
Let's check that we have nginx running
$ systemctl status nginx
And you see a similar output.
nginx.service - A high performance web server and a reverse proxy server
   Loaded: loaded (/lib/systemd/system/nginx.service; enabled; vendor preset: enabled)
   Active: active (running) since Fri 2018-04-20 16:08:19 UTC; 3 days ago
     Docs: man:nginx(8)
 Main PID: 2369 (nginx)
    Tasks: 2 (limit: 1153)
   CGroup: /system.slice/nginx.service
           ├─2369 nginx: master process /usr/sbin/nginx -g daemon on; master_process on;
           └─2380 nginx: worker process
Please pay particular attention to the line Active and it has running next to it.
Now let's test if we can access our webserver from the internet.
Use this command to print a few lines which include the machine's IP address.
$ ip addr show eth0 | grep inet | awk '{ print $2; }' | sed 's/\/.*$//'
Type the following in your browser's address bar
http://your_server_ip
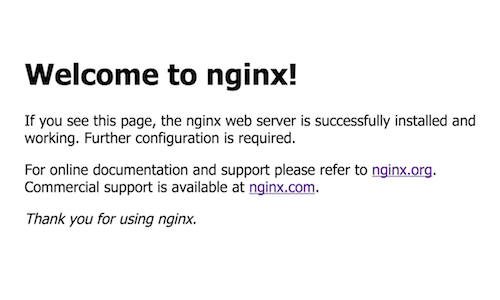
And you should see Nginx's default webpage.
Cool, we have our web server and everything is working so far!
Let's move to the next step and configure our server for our nuxt app.
Navigate to Nginx's folder and find the folder sites-available
The path is typically
$ /etc/nginx/sites-enabled
Create a file named after your domain name.
$ touch your_domain_name
And use your editor to edit the newly created file and paste in the following configuration.
map $sent_http_content_type $expires {
    "text/html"                 epoch;
    "text/html; charset=utf-8"  epoch;
    default                     off;
}

server {
    listen          80;             # the port nginx is listening on
    server_name     your-domain;    # setup your domain here

    gzip            on;
    gzip_types      text/plain application/xml text/css application/javascript;
    gzip_min_length 1000;

    location / {
        expires $expires;

        proxy_redirect                      off;
        proxy_set_header Host               $host;
        proxy_set_header X-Real-IP          $remote_addr;
        proxy_set_header X-Forwarded-For    $proxy_add_x_forwarded_for;
        proxy_set_header X-Forwarded-Proto  $scheme;
        proxy_read_timeout          1m;
        proxy_connect_timeout       1m;
        proxy_pass                          http://127.0.0.1:3000; # set the address of the Node.js instance here
    }
}
Reference: https://nuxtjs.org/faq/nginx-proxy/
The only thing that needs changing is the line server_name and replace your-domain with your actual domain name.
Once that's done, save the file and we will need to symlink this file into the other folder sites-enabled.
ln -sf /etc/nginx/sites-available/your_domain_name /etc/nginx/sites-enabled
This will enable your site to be run through Nginx.
Test that the config is correct.
$ sudo nginx -t
If there are no errors in the test, let's restart nginx for the server to take effect.
$ sudo nginx -s reload
If done correctly, you should now be able to visit your nuxt app on the internet using your domain name.
Notes
Congrats you have your nuxt app on the internet! But it doesn't stop there because right now we are on a non-secure connection (http://) and we will need to register an SSL certificate so that we can use https://. It's not necessary but it's a recommended step to secure your site https://web.dev/why-https-matters/.
In my next blog, I will teach you how to secure your site using Let's Encrypt and using Certbot to automate the cert renewal.